Removing Landscape Rock: What you need to know before you start
Discover the steps involved in removing landscape rocks and why it might be necessary. From maintenance to soil improvement, prepare for a successful project.
Landscape rocks can be a great way to add texture and contrast to your yard—but they aren’t always permanent. Whether you’re switching to mulch, planting new grass, or just want a cleaner look, there comes a time when you may want to remove those decorative stones.
Here’s what to know about removing landscape rock—and how Royal Landscaping can help.
Why Remove Landscape Rock?
1. Maintenance:
Rocks may seem low maintenance, but weeds still grow through, and cleaning them can be tough.
2. Changing Style:
Tastes change. If you’re moving toward a softer or greener landscape, mulch, plants, or turf may work better.
3. Improving Soil Health:
Underneath landscape rock, soil often becomes compacted. Removing the rock allows water, air, and nutrients to reach your soil again.
How Rock Removal Works
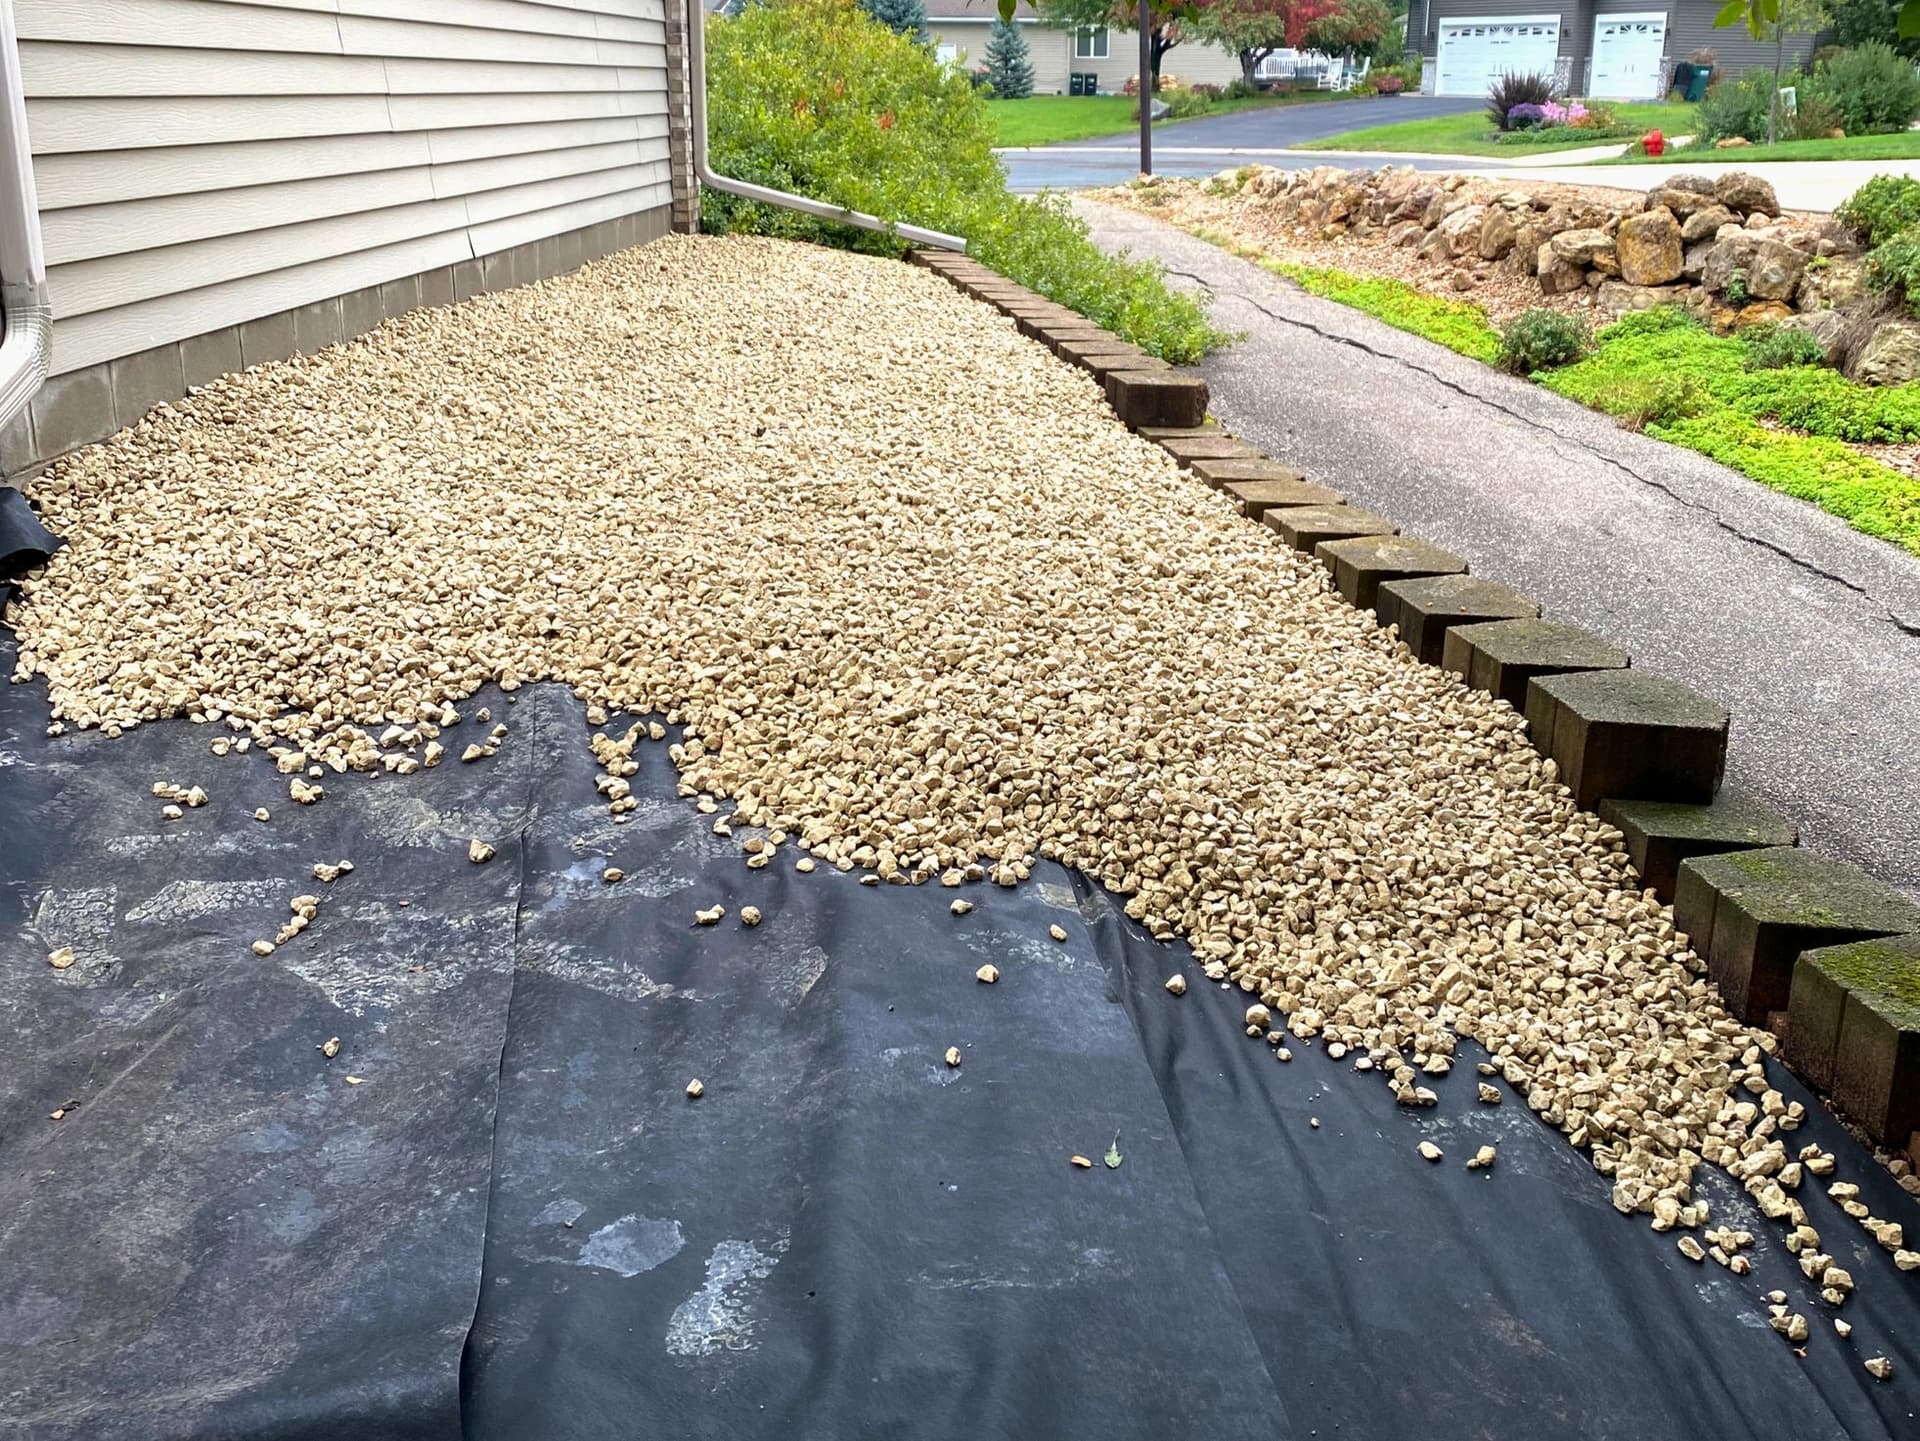
Step 1: Clearing Debris
We start by clearing away any leaves, weeds, or other debris that might be mixed in with the rock.
Step 2: Shoveling and Raking
Using heavy-duty tools, we carefully remove rocks by hand or with equipment—depending on the size and depth of the area.
Step 3: Hauling and Disposal
Rocks are loaded into trailers or dumpsters and either recycled or responsibly disposed of.
Step 4: Soil Prep (Optional)
We can also prep the area with topsoil, compost, or mulch to get it ready for planting or seeding.
Need Help? Let Royal Landscaping Handle It
Removing landscape rock is hard work. It’s dusty, heavy, and time-consuming—especially without the right tools. At Royal Landscaping, we offer full-service rock removal, including cleanup, hauling, and disposal.
No mess, no stress—just a clean space ready for whatever’s next.
Contact Royal Landscaping Today
Whether you’re redoing your yard or starting fresh, we’re here to help make your landscaping project easy and efficient.